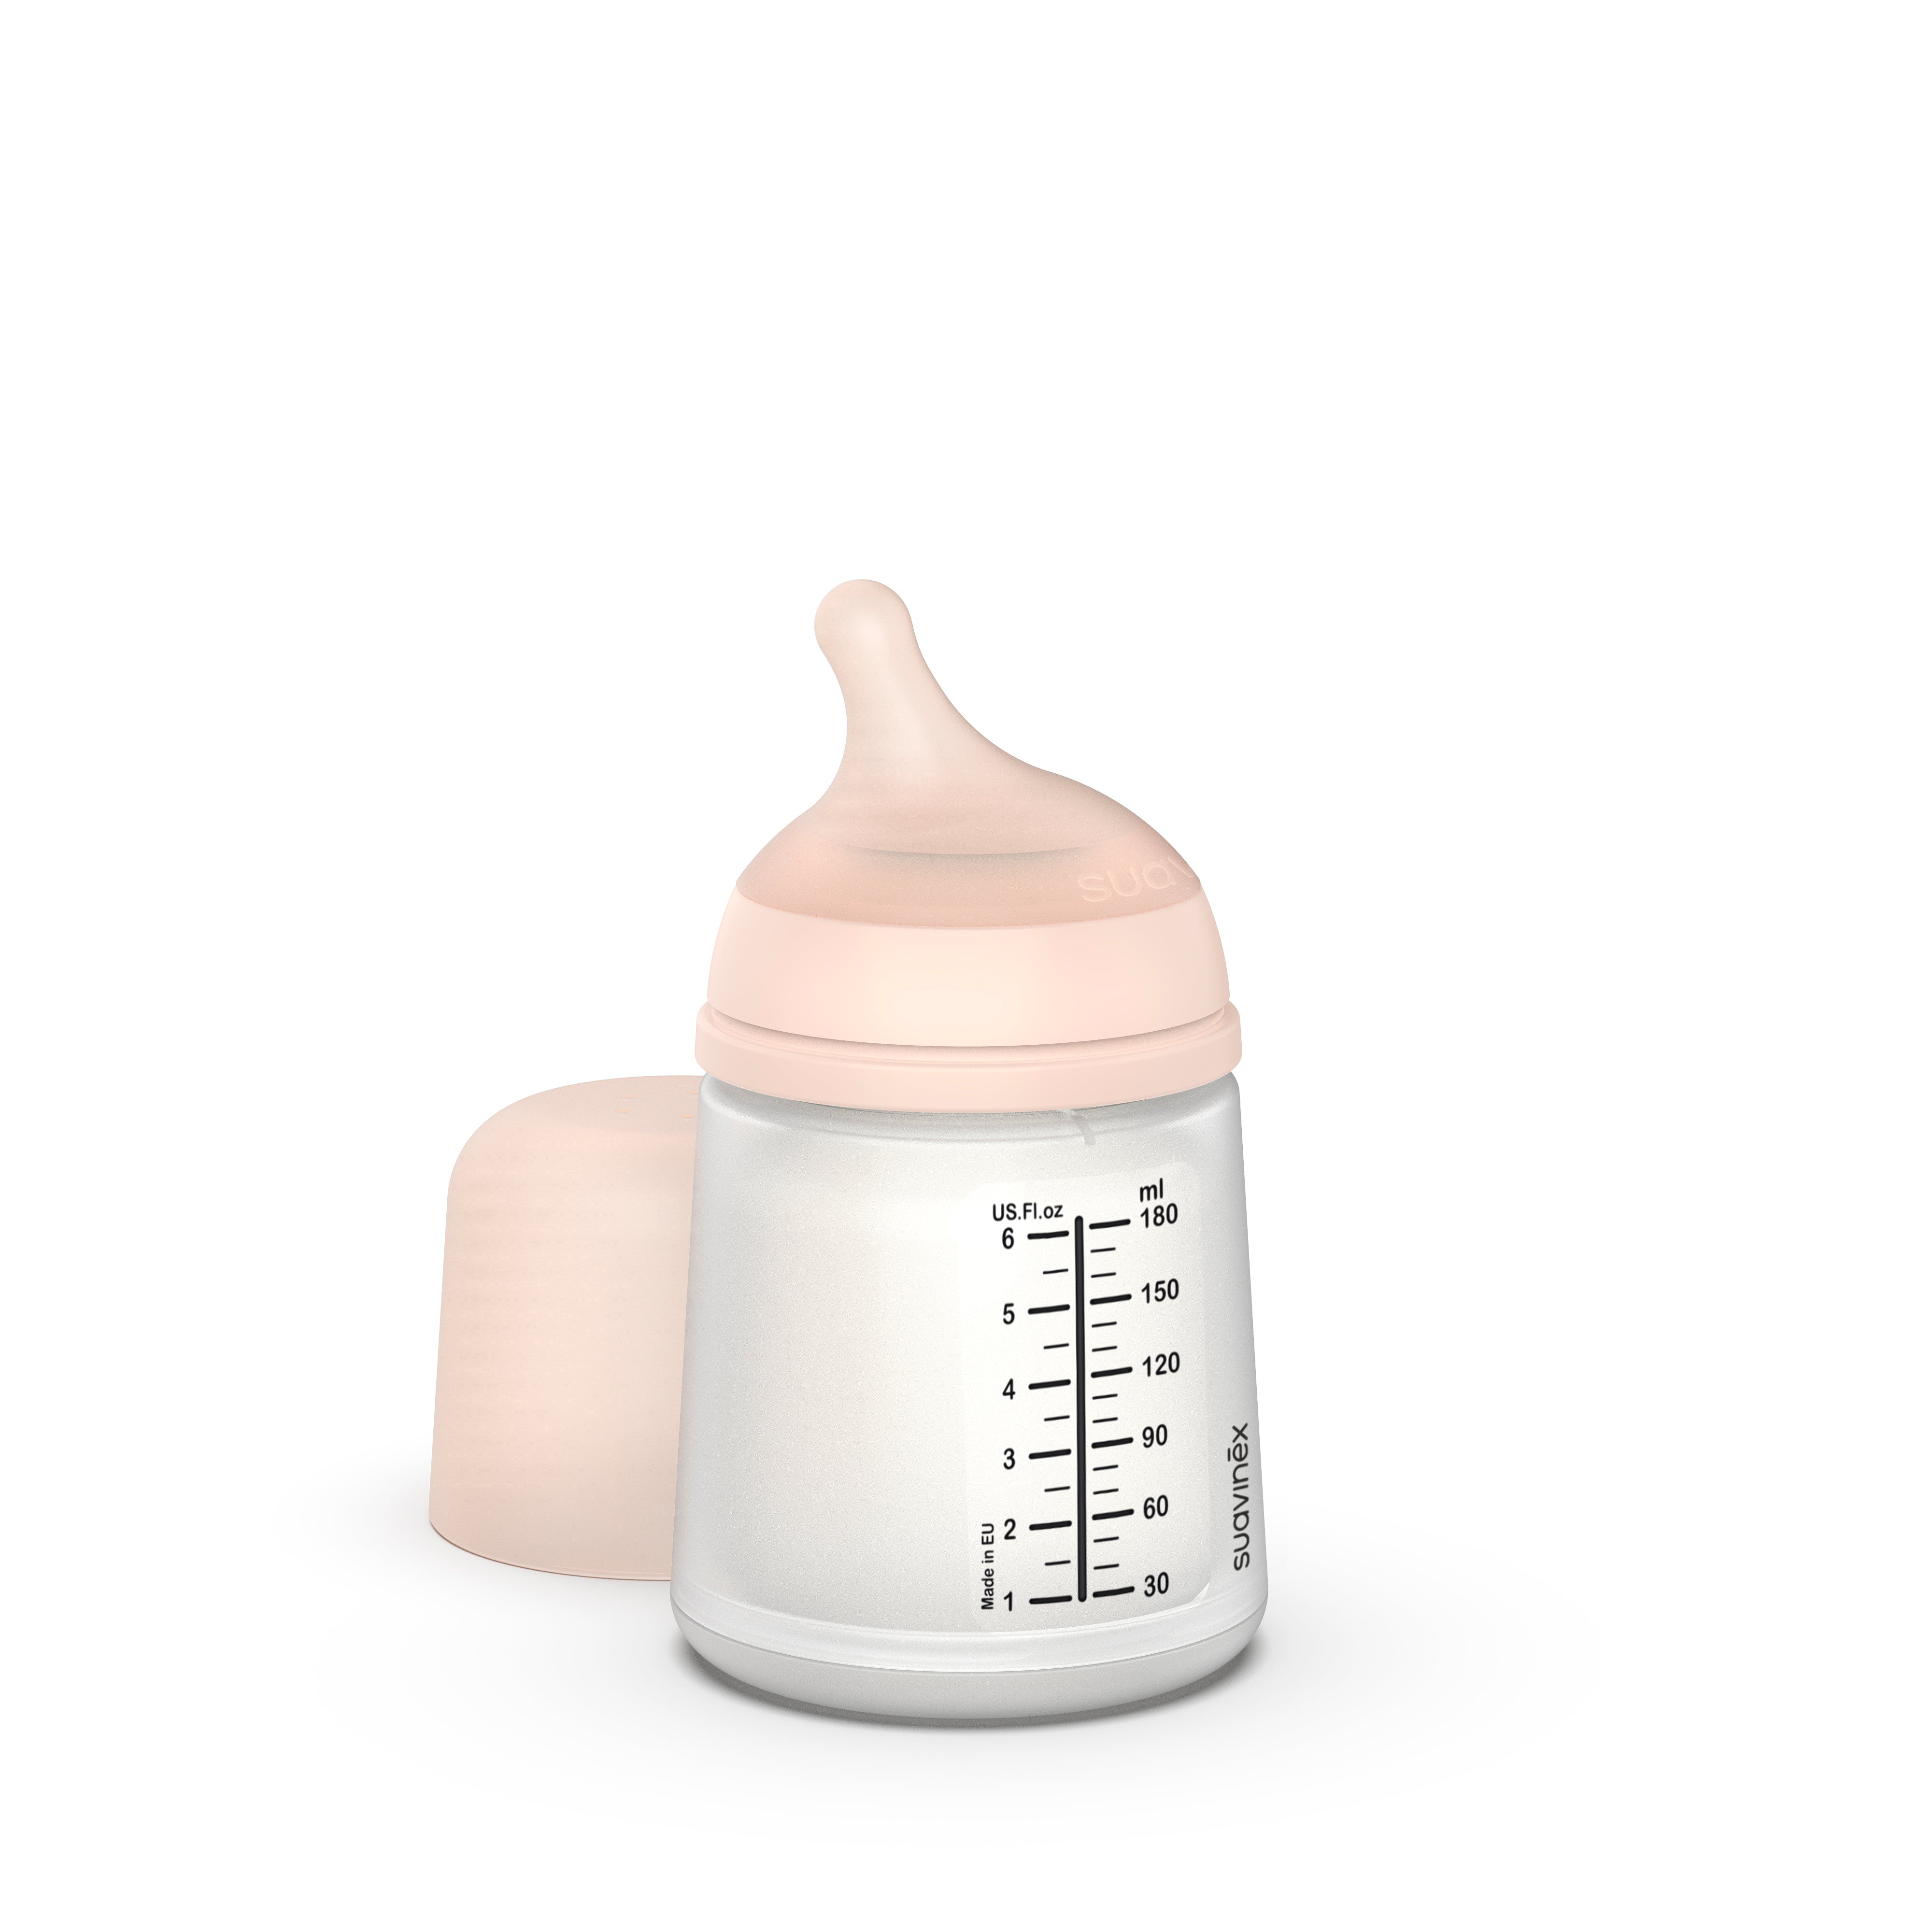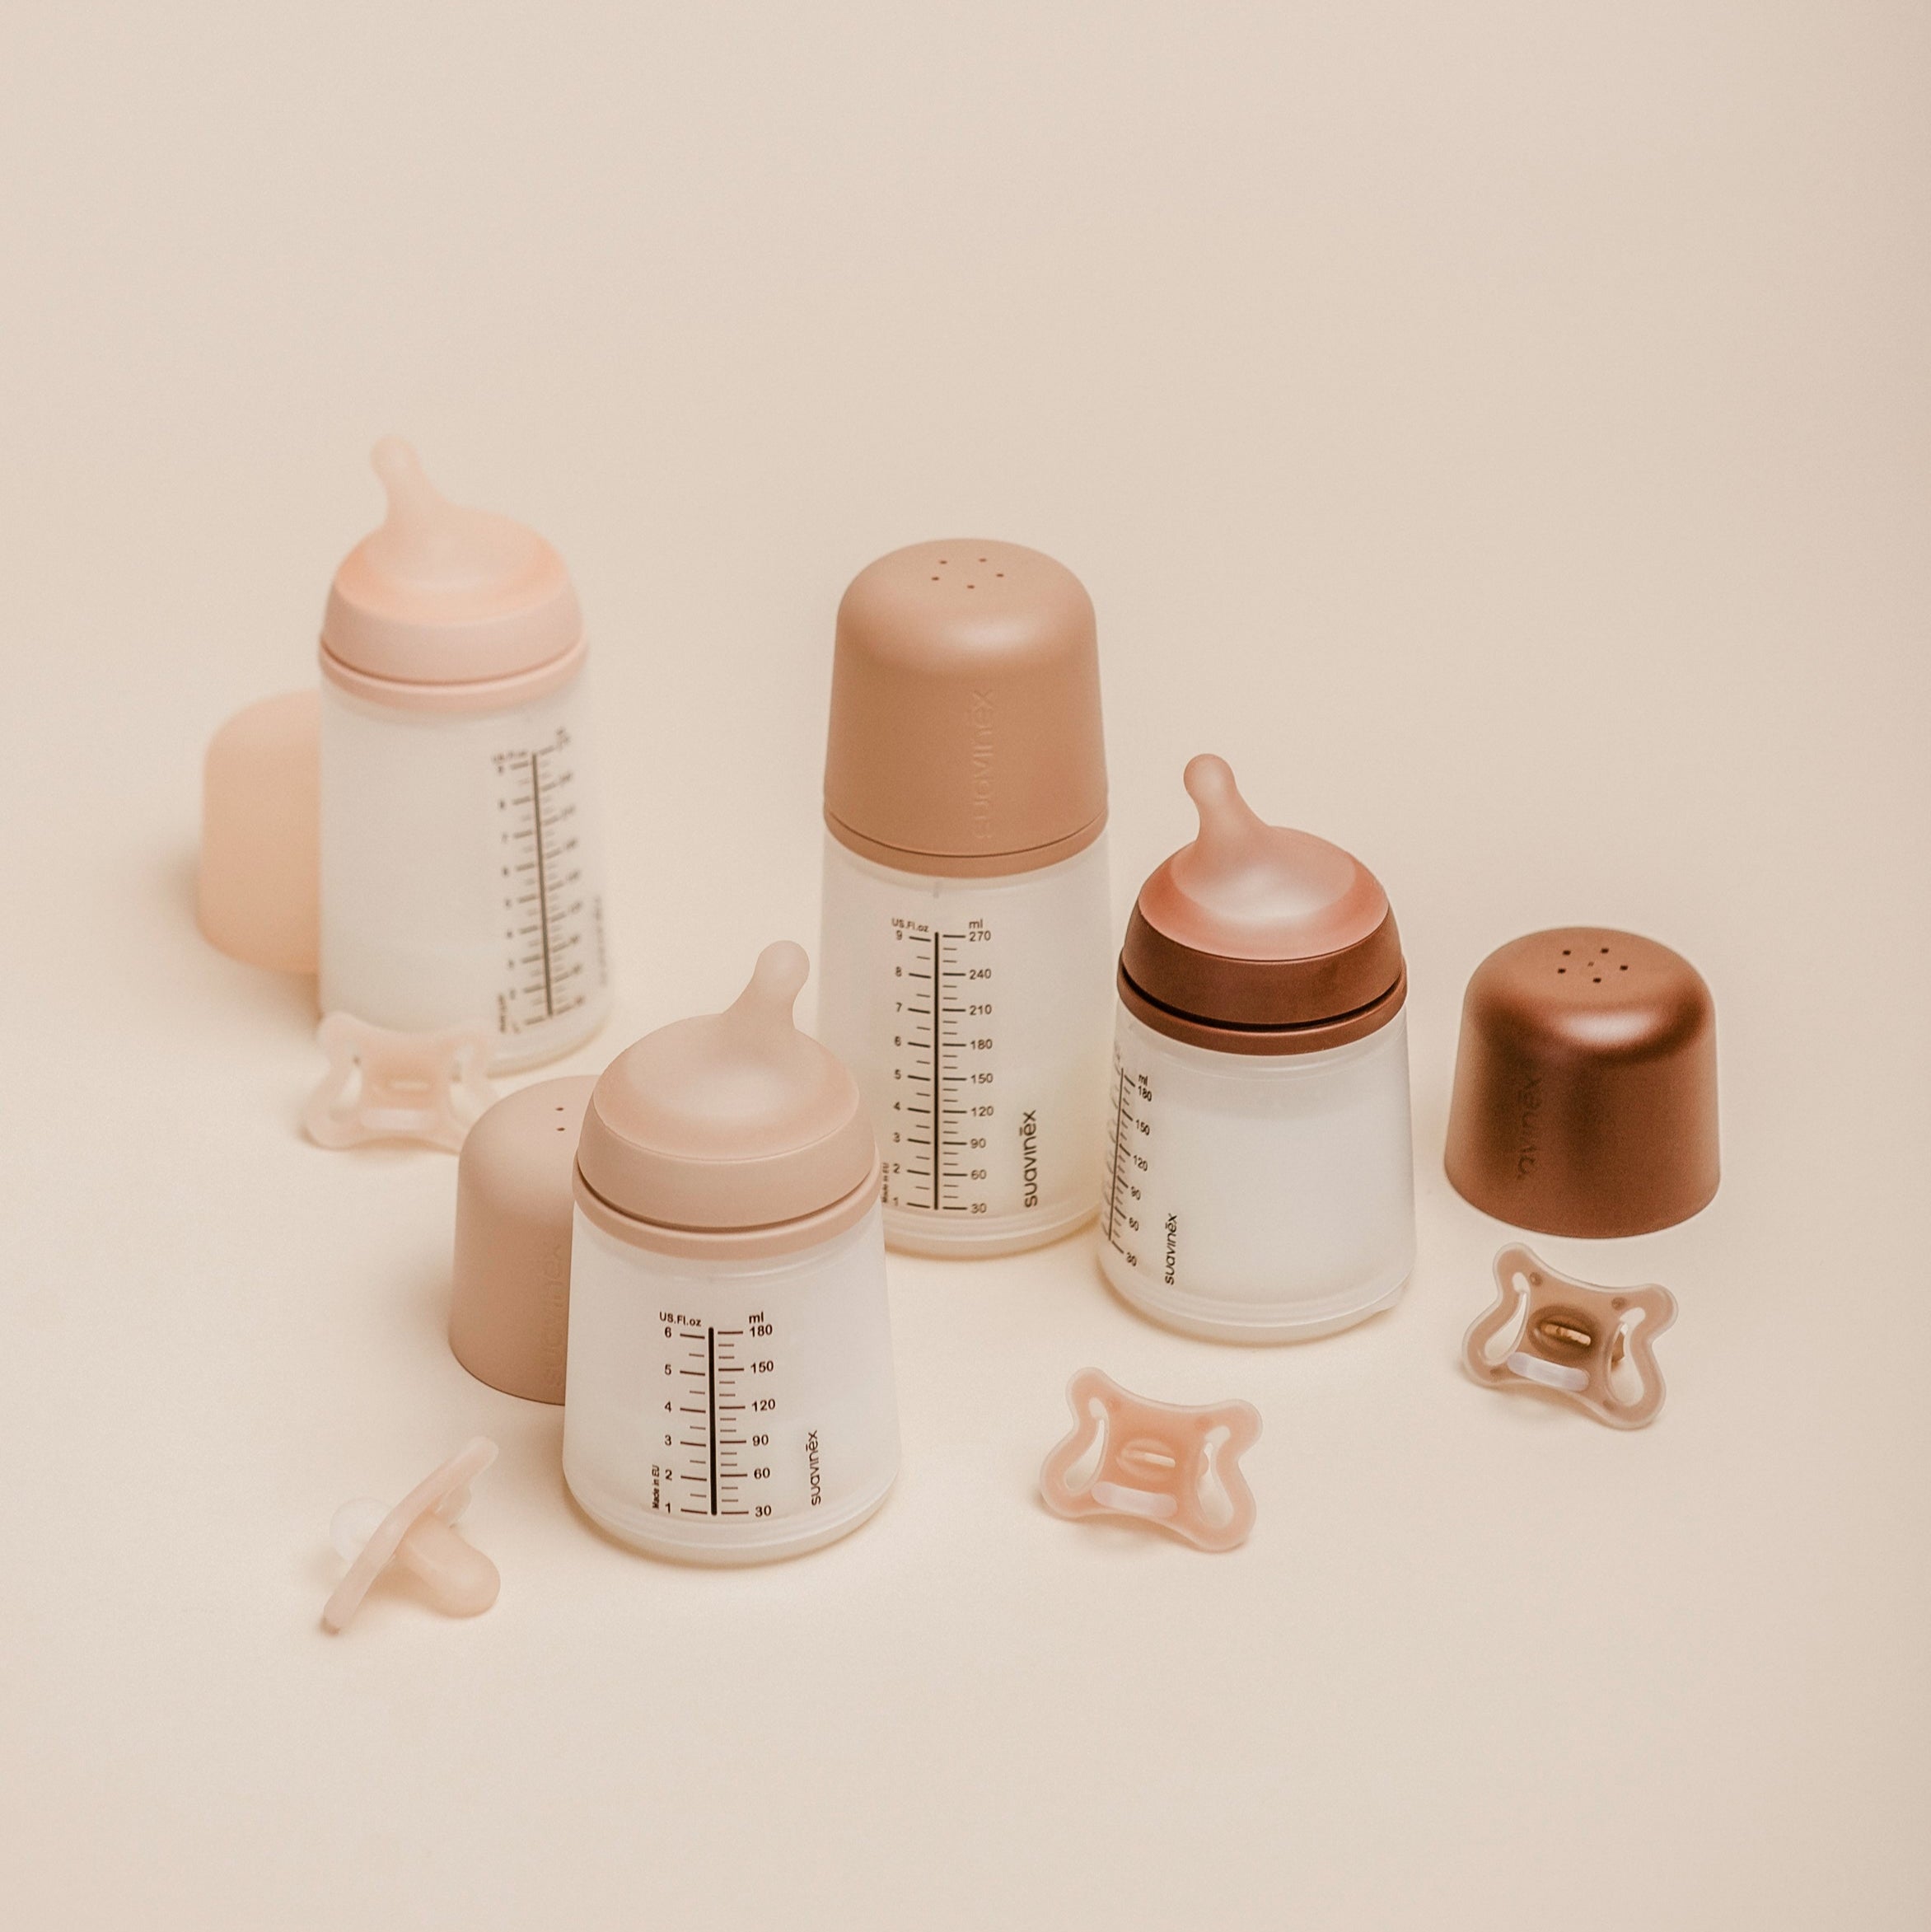







We know having to clean all those baby bottles can feel like the final boss of parenting, but keeping your baby’s bottles hygienic doesn't have to be a high-stress operation. At Suavinex, we believe that a clean bottle is the foundation for happy, healthy feeds. Read on to get the 411 on exactly how to do it.
1. Disassemble
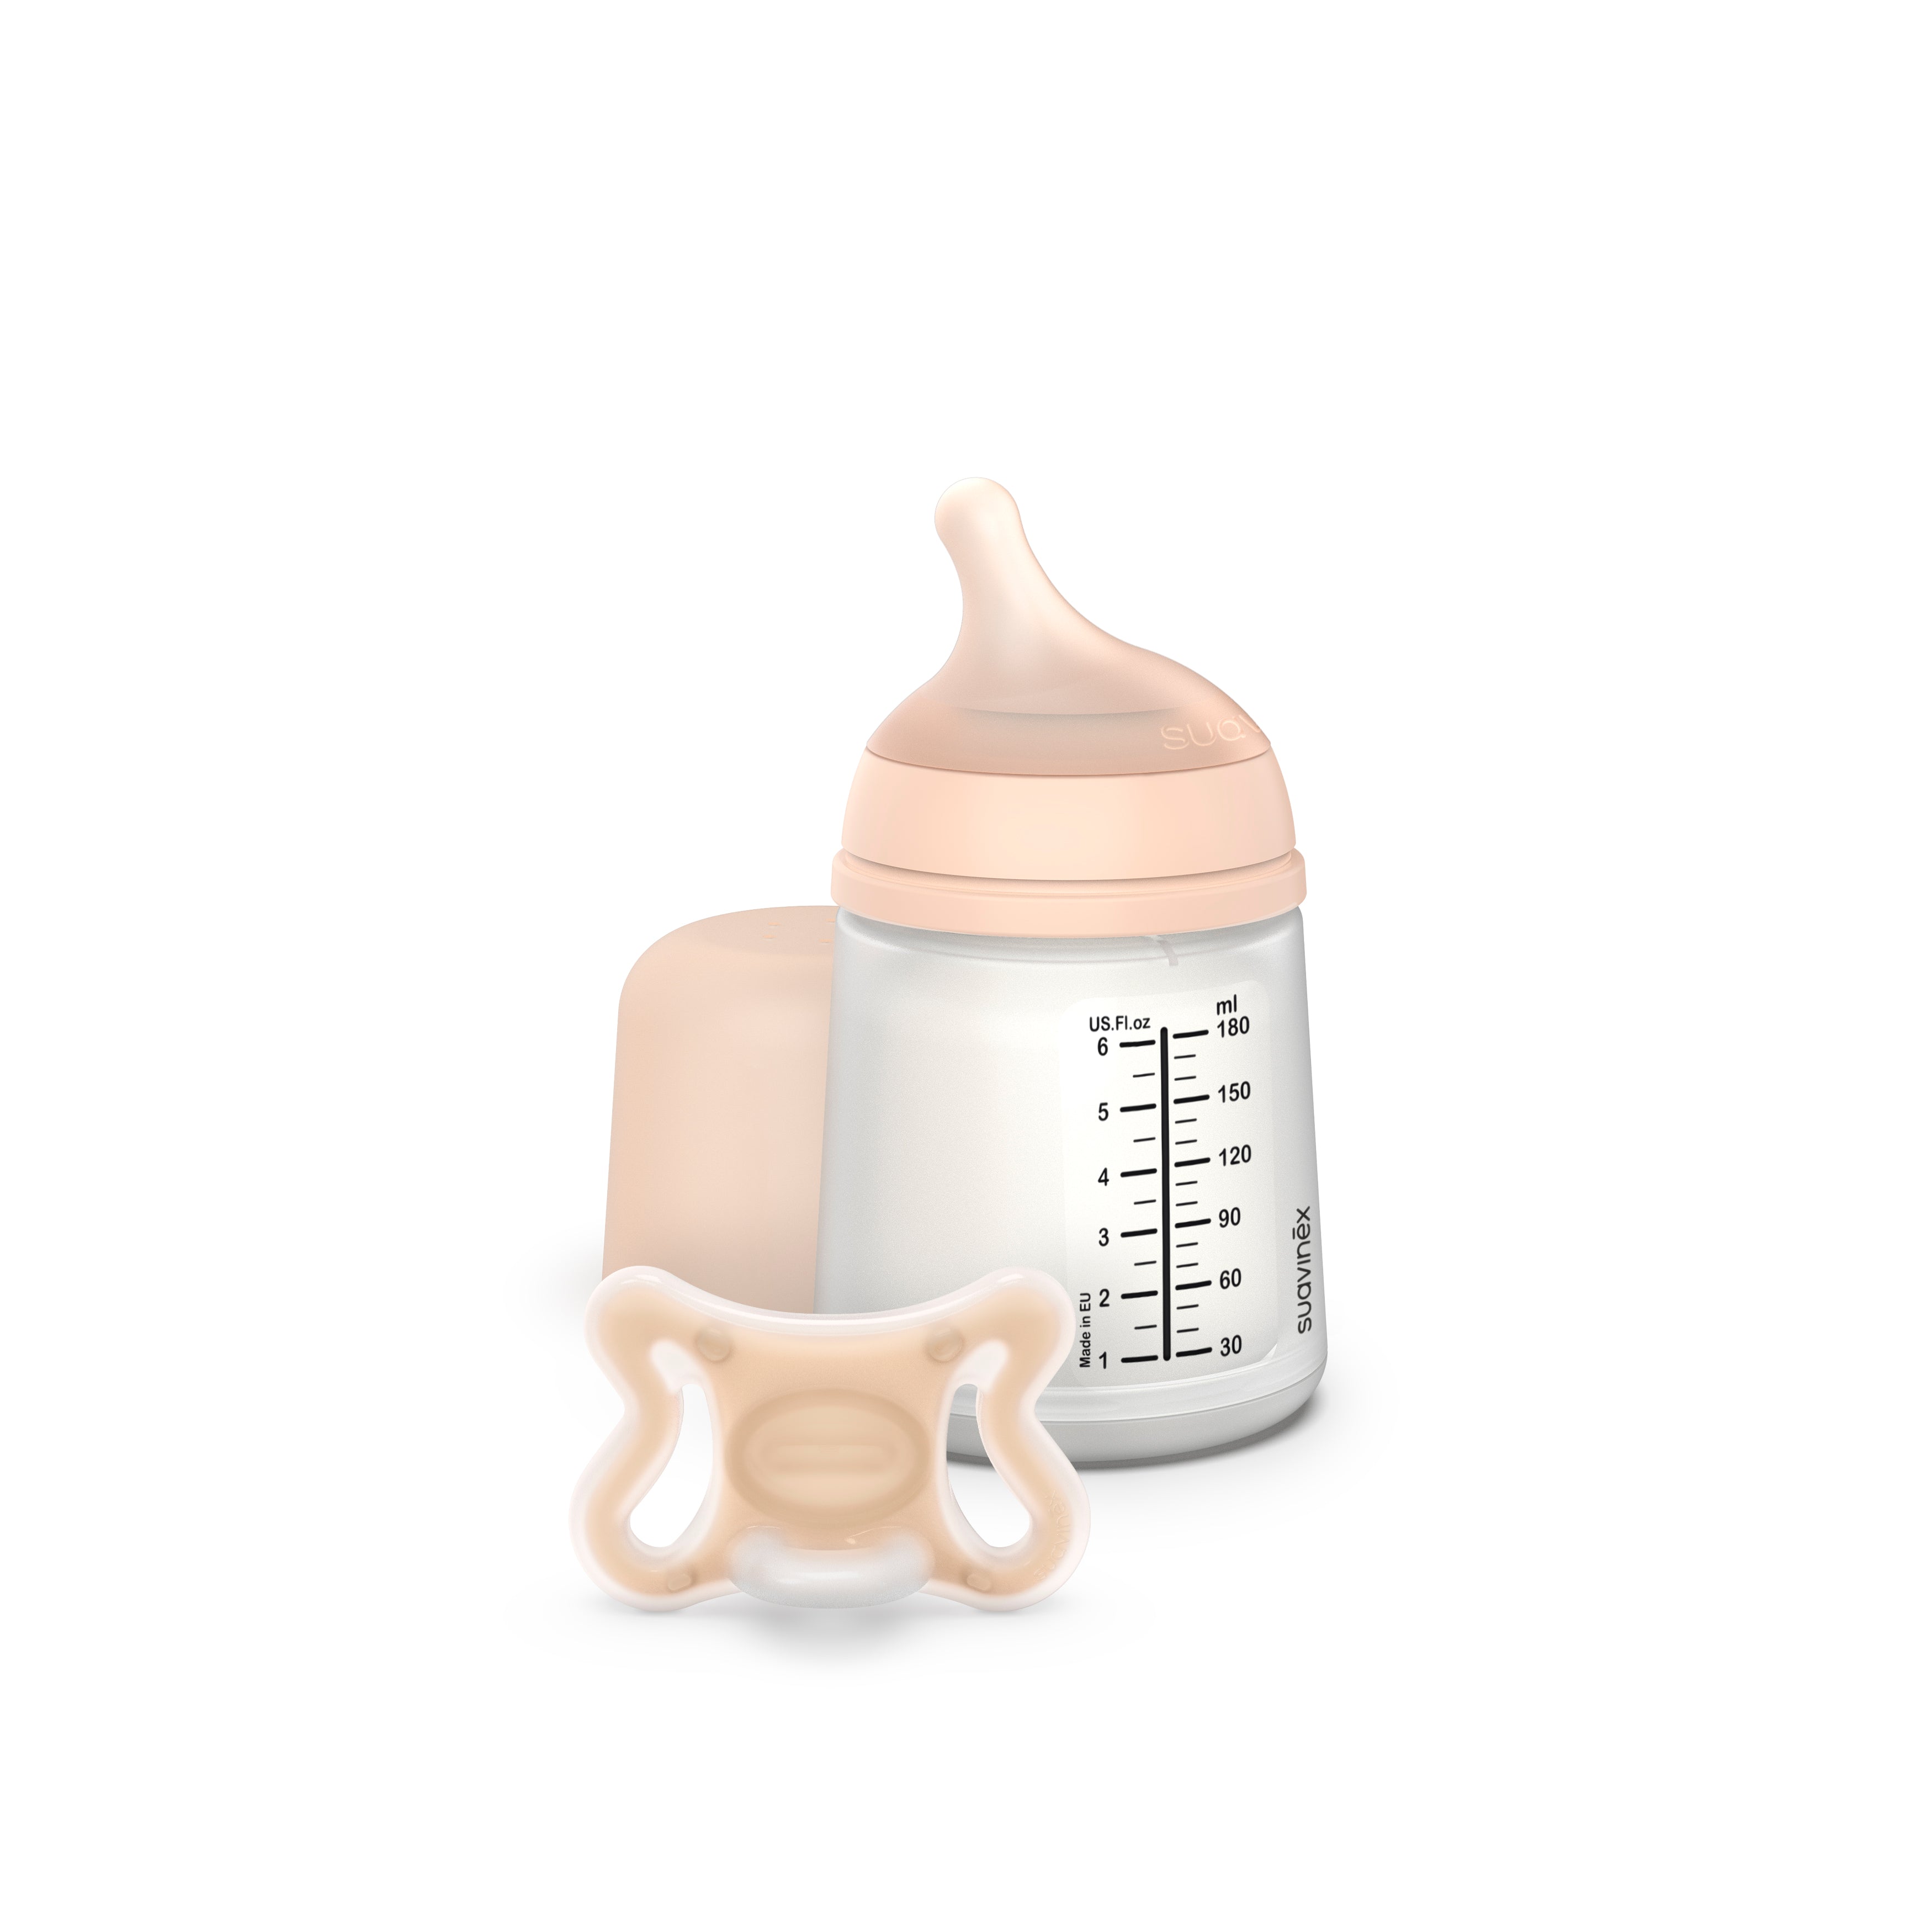
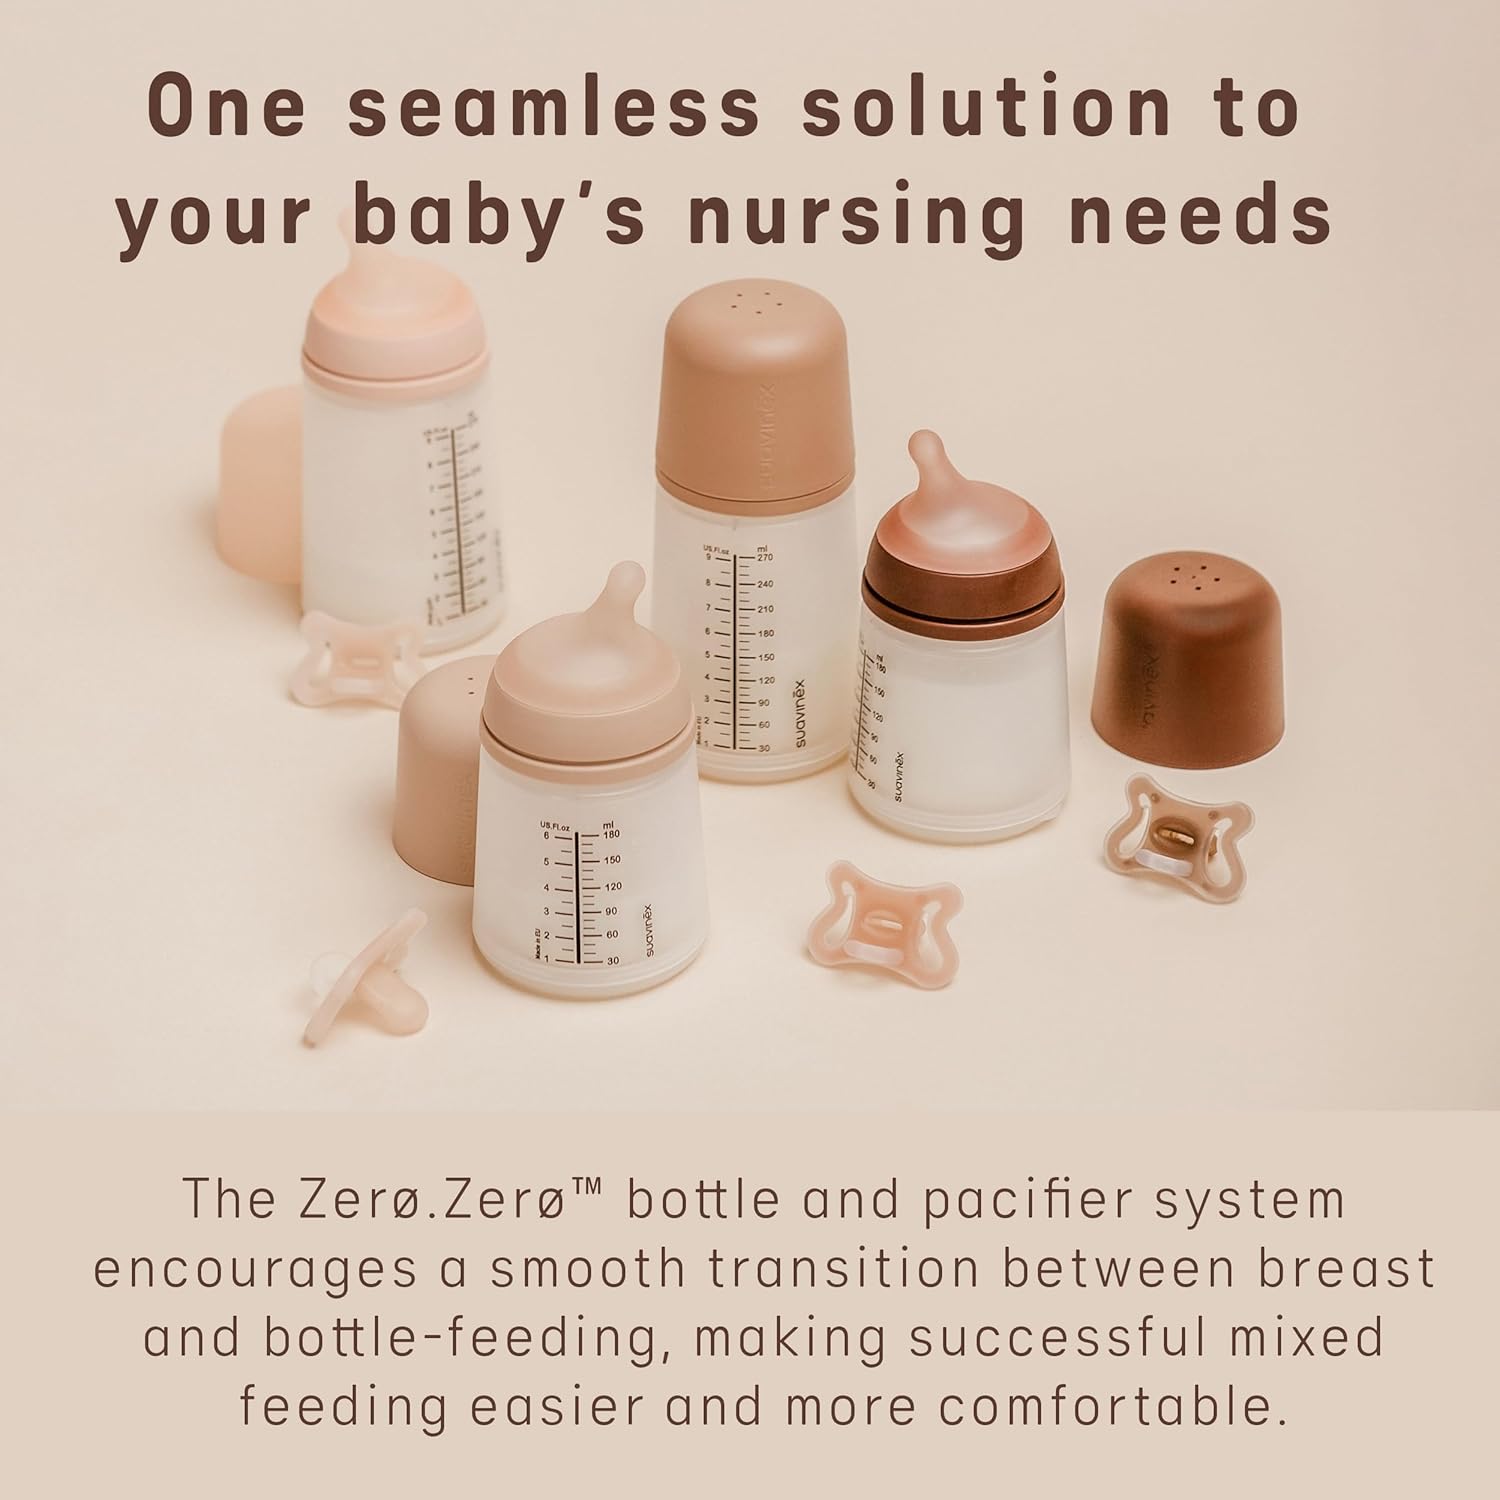
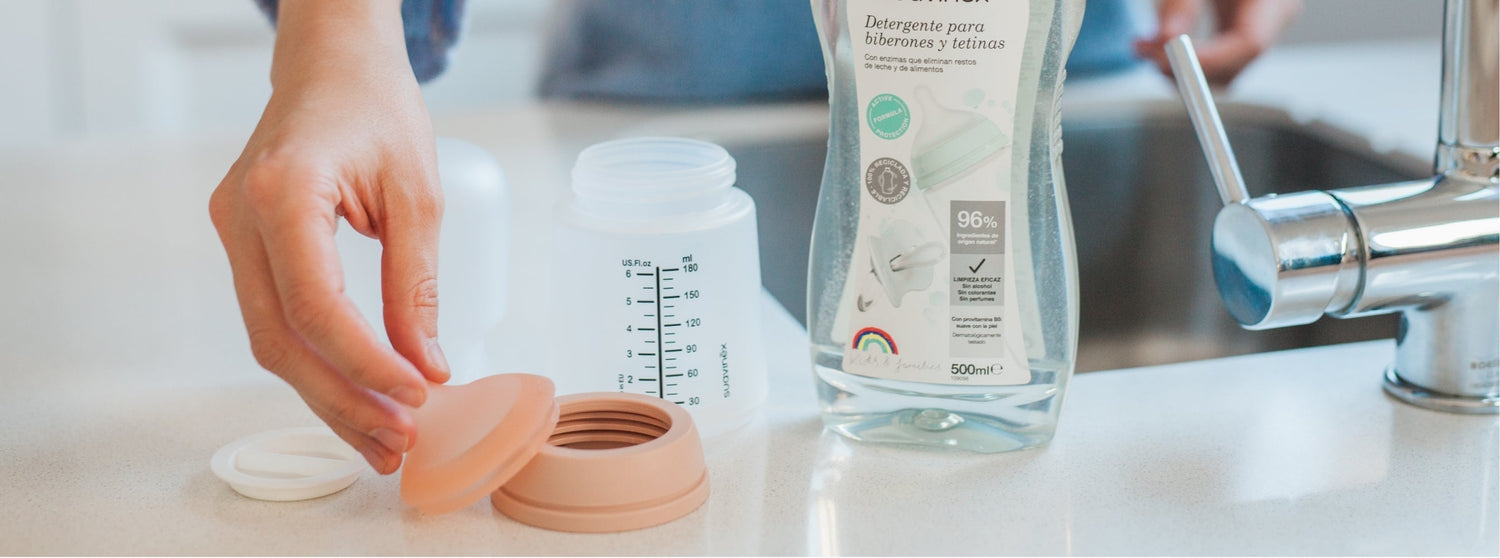
First things first: take it all apart. We mean everything. Remove the nipple from the screw ring, take off the protective cap, and if you’re using our Zerø.Zerø™ bottle, remove the internal anti-colic silicone pouch.
Tip: Don't let milk sit! Even a quick rinse with cold water immediately after a feeding prevents that stubborn, dried-on milk film that makes deep cleaning much harder later.
2. How to wash: by hand vs. machine
Here are two ways to actually wash your bottle, and both are perfectly valid:
-
Hand Wash: Use warm, soapy water and a dedicated bottle brush. Ensure the brush reaches the very bottom. For nipples, use a smaller teat brush to avoid tearing the silicone while ensuring no residue is left in the tip.
-
Dishwasher: Yes, you can! Just ensure all parts are top-rack only to prevent melting or warping from the heating element. If your dishwasher has a "Sanitize" cycle, this is a fantastic time-saver as it uses higher temperature water to kill more germs.
3. Sterilize: When and How Often?
Cleaning removes grime, but sterilizing knocks out the bacteria.
-
How often? For healthy babies, sterilization once a day is usually plenty. However, for newborns (0-3 months) or babies with weakened immune systems, we recommend sterilizing after every use.
-
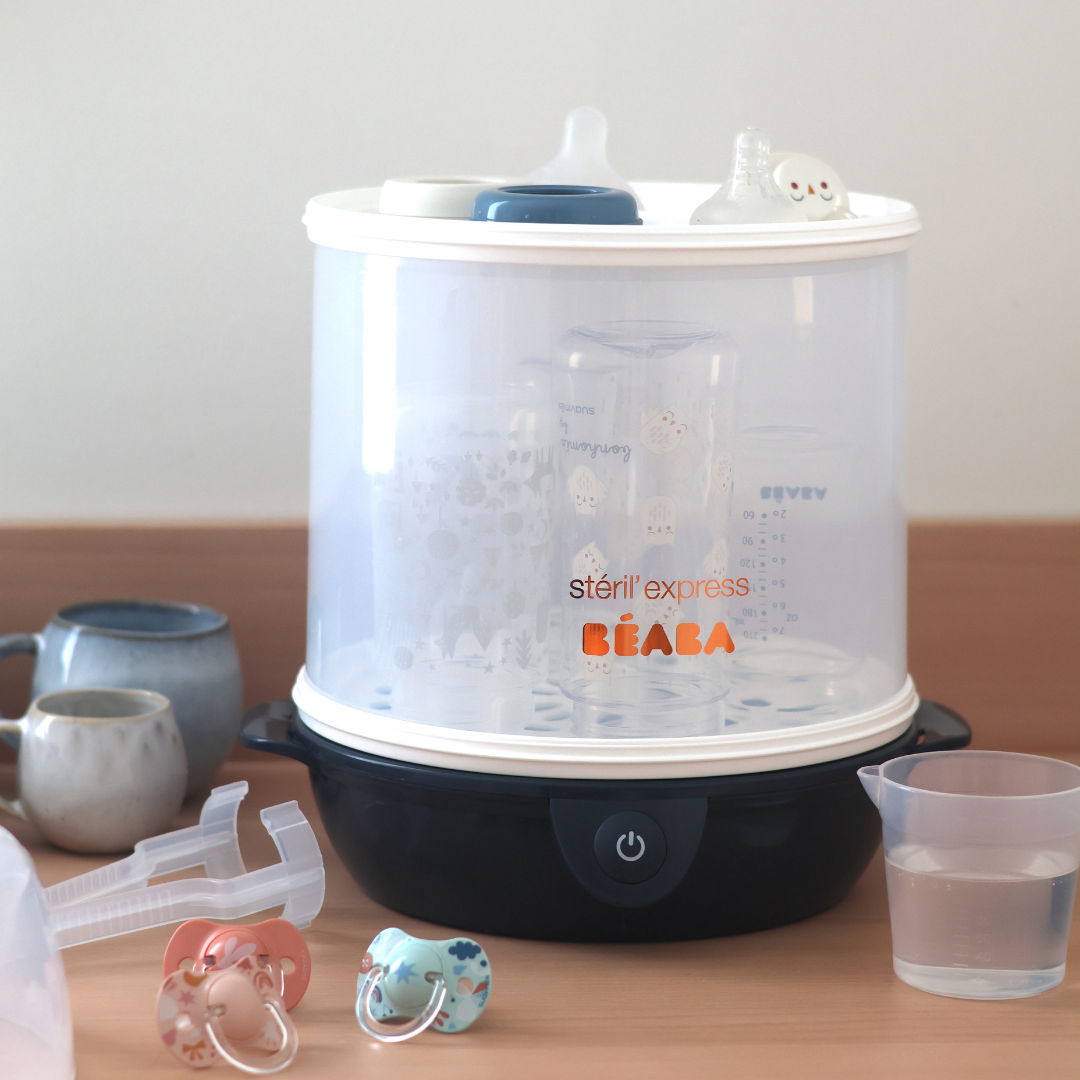
The Method: You can go old-school with a 5-minute boil in a pot of water, or use a dedicated electric steam or microwave sterilizer. If you're using our Bonhomia Glass Bottles, they handle high-heat sterilization beautifully.
4. The Art of the Dry
This is the step most people rush, but it’s the most important for preventing mold.
-
Skip the towel: Your cloth kitchen towels can actually re-introduce bacteria to your fresh bottles. If you don't have a rack, you can use a clean paper towel.
-
Air it out: Place all parts on a clean, dedicated drying rack in a well-ventilated area. Ensure the bottles are propped at an angle so air can circulate inside.
If you're reading this, you’ve got this. One clean bottle at a time!
Sources: